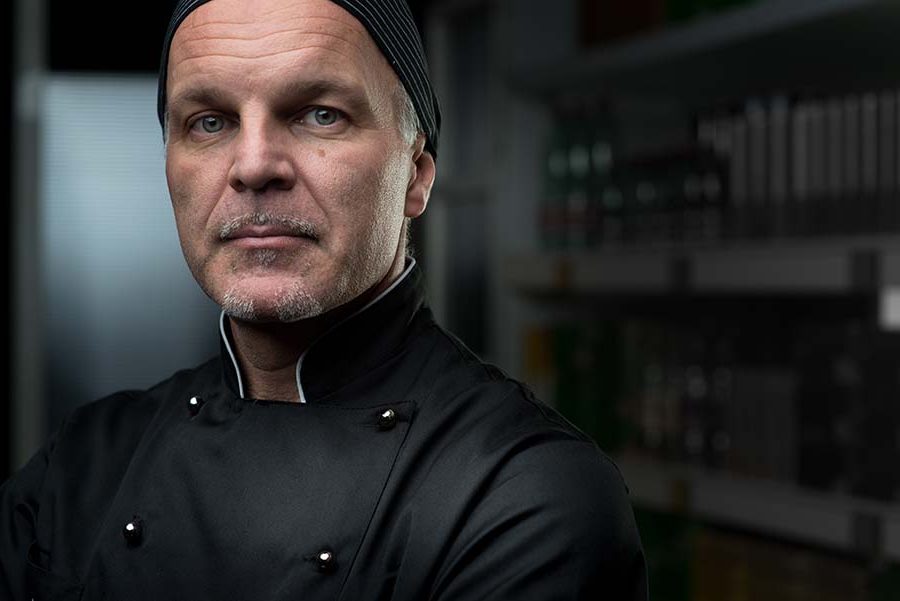
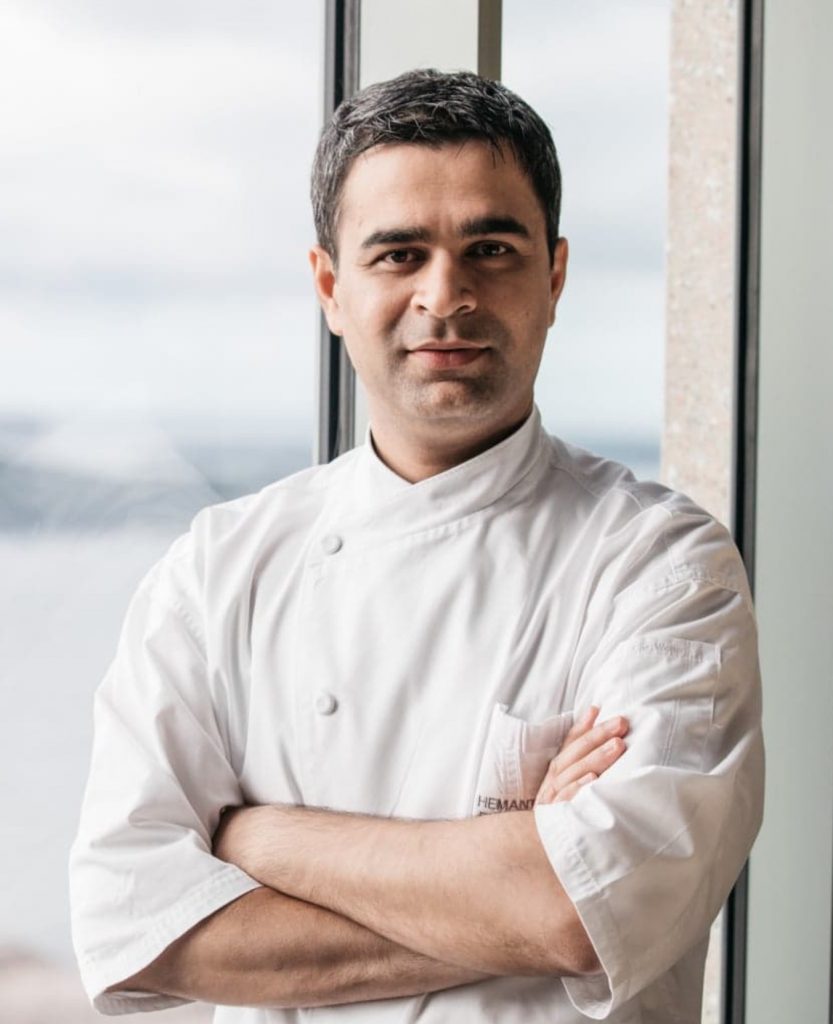
We’ve all seen that classic chef headshot. Arms crossed, apron and chef whites on, maybe even a chef’s hat. Gazing into the camera with confidence. The chef is probably standing in a kitchen, in front of a benchtop, or with shelves full of produce behind them. Having a professional chef profile picture is essential for showcasing your personality and what makes you uniquely you. Have you got yours?
Why you need a chef headshot
Every chef should have a headshot that portrays them looking their best. This image can be used alongside press releases, in articles talking about your cuisine, and to build trust amongst customers and diners by acquainting them with who you are and what you look like. A good chef profile picture shows that you’re serious about cooking and tells the world that you’re a professional. It displays your personality, commitment to cooking, and what makes you uniquely you.
If you haven’t got a professional chef headshot just yet, good news: you can easily take a great headshot with your smartphone. Today’s phones all have the capacity to take professional, clear, and stylish chef profile pictures easily and effortlessly. Here’s how to take a great chef headshot using just your phone.
1. Conceptualise….
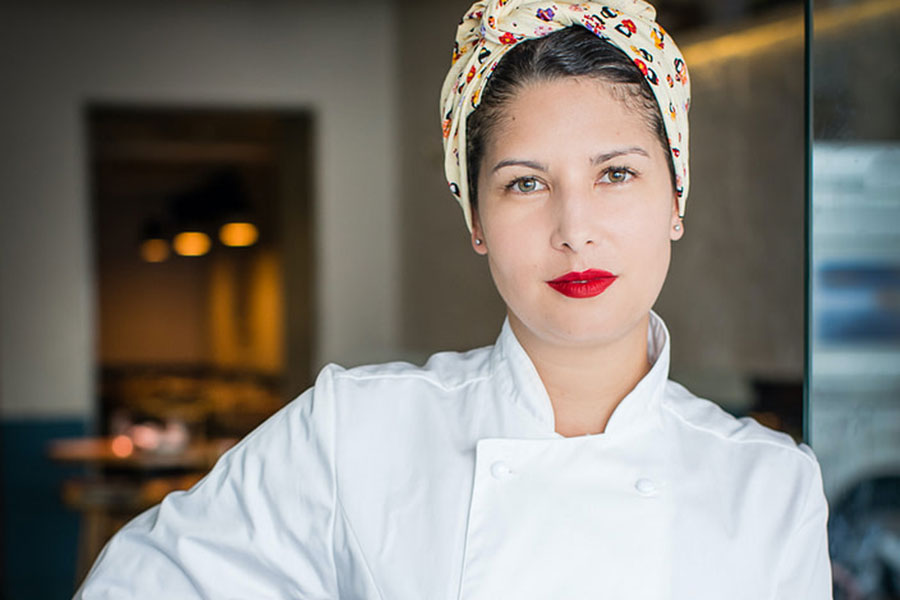
Your chef headshot is a professional self-portrait, but it’s also an opportunity to display your unique character and personality. It’s this aspect of you that makes your cooking special, so try to get it through in the image if you can. A lot of chefs just go for a plain, neutral background with chef whites on and not much standing out. But you can go the extra mile! Think about how you can make your chef headshot portray your unique style.
Ask yourself the following questions:
- What is my cooking inspired by?
- What do I think makes me and my cooking unique?
- How can I represent these in my photo?
You can use these answers to make a mood board or get you started on how you can make your professional self-portrait unique and expressive. Be creative! Cooking is all about creativity, anyway, so we know you have it in you. Feel free to look at some other chef profile pictures to get some ideas.
Some other things to consider about your chef headshot include:
- Do you want it to be a close-up of you smiling at the camera?
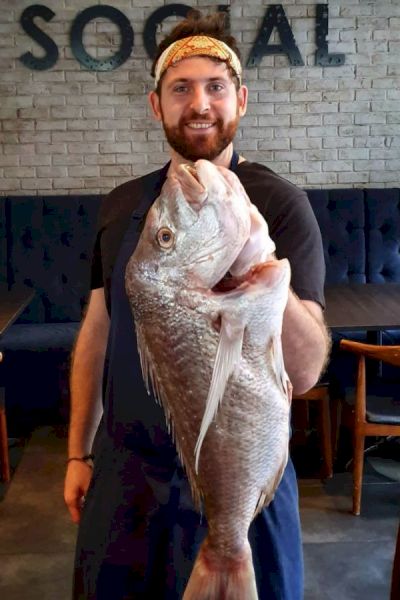
- Would you like your chef profile picture to be an ‘action shot’ of you at work in the kitchen?
- Do you want to include tools, like a butcher’s knife?
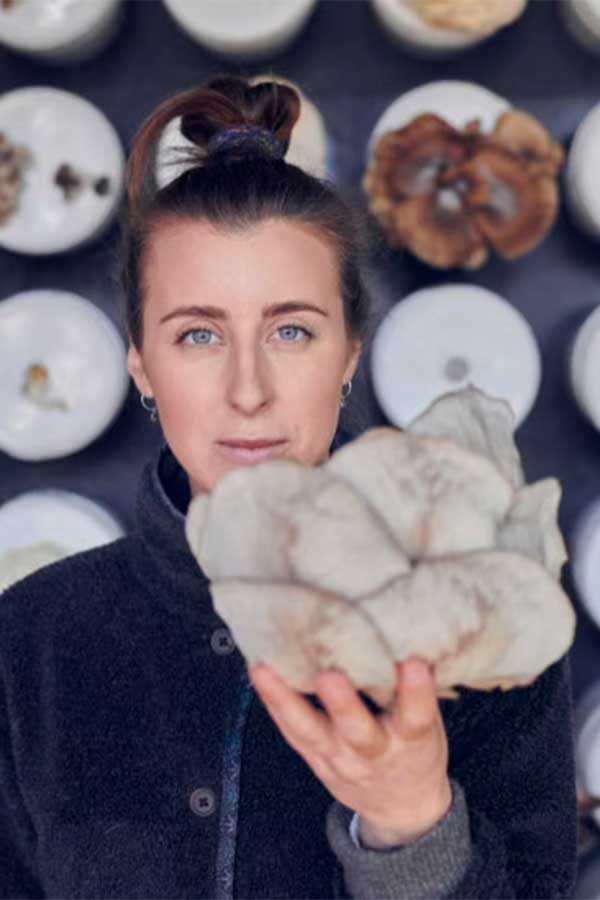
- Would you like your chef headshot to include a signature dish or favourite ingredient?
- Do you want to be laughing or look more traditional and serious?
If you don’t feel like an exercise in creativity, then just go for the classic chef headshot. Arms crossed, gazing at the camera. There’s absolutely nothing wrong with that – it works for most chefs!
2. Ask someone to help out
Once you have a good concept for your professional self-portrait, it’s time to start considering how the photoshoot will go down. Enlist a patient friend, colleague, or family member to help you out, as taking a selfie is not an option here.
3. Choose the right location
You might have already decided that you want your chef headshot taken in the kitchen, in your vegetable garden, at home, or in front of a blank white wall. Whatever you’ve decided to go with, it’s time to zero in on the exact spot where you’ll be standing for your photoshoot. Try to keep the background as neutral as possible so as to not distract from the main focus point – your head!

If your chef profile picture will be taken in a kitchen, try to stand in a location that doesn’t have too busy of a background. Make sure there are no strange objects sticking out of your head and avoid having signs, labels, or other people in the background. If you’ve gone for an outdoor photoshoot, try to keep the background as simple as possible. Keep the background consistently green, for example, as opposed to having both blue sky and trees.
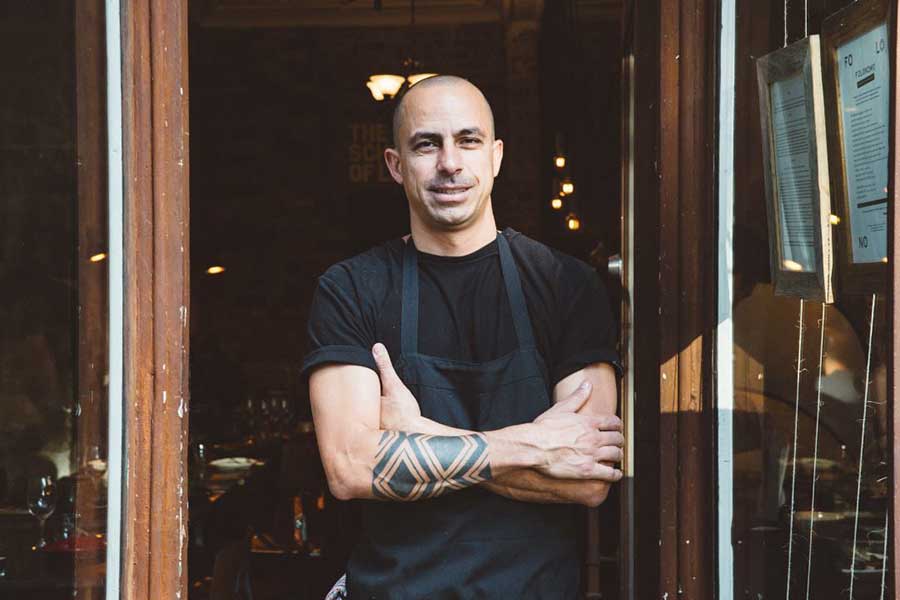
If you’ve decided to pose in front of a wall or go for a neutral background, keep it simple. Solid concrete or brick walls work well, as does a clear blue sky or a funky coloured restaurant wall (avoid patterned backgrounds).
4. Nail the lighting
Lighting is one of the most important parts of a professional self-portrait. Some vital things to consider about lighting when taking your headshot with your phone:
- If you’re taking your chef headshot outdoors, consider the location of the sun. Avoid posing with the sun behind you as this will destroy the lighting of your photo. At the same time, having the bright sun behind the camera could make you squint in your headshot. Think about where the sun is and choose a location where it’s not getting in the way.
- Natural lighting is always best. Early morning or late afternoon has the best natural lighting.
- If you’re taking your chef profile picture indoors, avoid standing under fluorescent office-style lighting as these create a green cast and unflattering shadows.
- Don’t use flash for your photo as this will create red-eye and can wash out your face.
- When taking your chef headshot indoors, the ideal spot is somewhere that is brightly lit with natural sunlight flooding the room.
A good idea might be to use a ring light to optimise the lighting for your professional self-portrait. This is a great option if you cannot take your chef headshot outdoors, if the weather is not ideal, or have chosen to use a kitchen as your background. A ring light gives the look of daytime lighting and helps fill in unflattering shadows on the face.
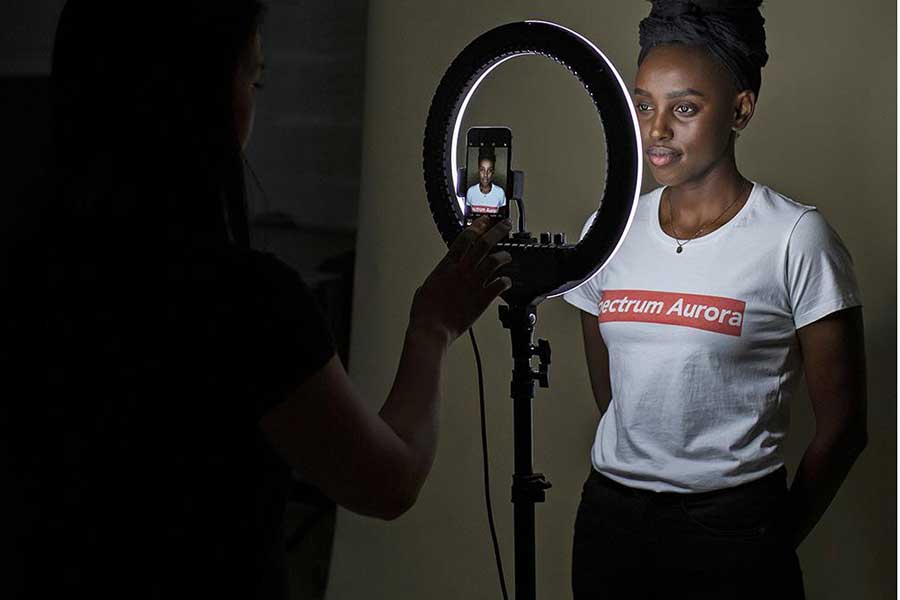
If you’re using a ring light, try to:
- Keep the light on one side of your face,
- Make sure the light is placed slightly above eye level, and
- Use a whiteboard or other shiny surface on your lap to reflect the light back into your face.
5. Get the pose right
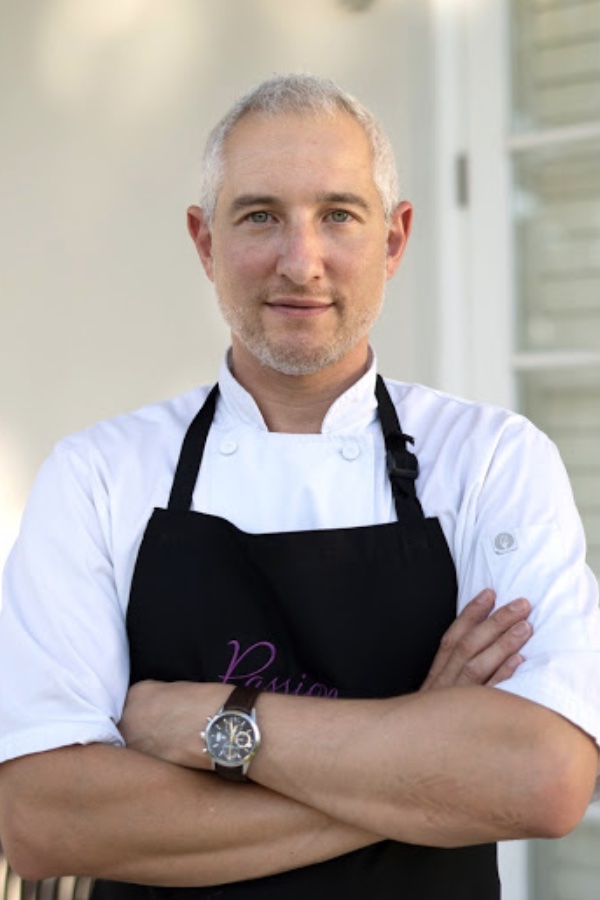
You’re taking a professional self-portrait, so good posing is a must! Avoid slouching and stand up straight with your shoulders back and chin lifted towards the camera. Then, turn your upper body slightly at a diagonal while keeping your head facing the camera. This is the best posture for professional self-portraits, helping to create a nice angled body shape that’s not too wide or boxy.
Your hands can be folded across your chest, in your pockets, or by your sides. If you’ve chosen to take an action shot, go crazy! But make sure you’re relaxed, smiling, and in a flattering position. Some tips for posing for your chef profile picture:
- Keep your back straight while posing,
- Leaning your head slightly forward towards the phone will help avoid having a double chin and make you look slimmer,
- Try not to face the camera head-on as this can look unflattering,
- Keep your shoulders relaxed and avoid hunching over or being too tense. Take a few deep breaths, exhale, and lower your shoulders down before posing,
- Give yourself the time to take a few shots and make adjustments where needed,
- If you have deep-set eyes, lower your light to eye level to fill in your eye sockets,
- Got a double chin you’d like to get rid of? Raise your light a bit higher to cast a dark shadow around your chin area and add definition,
- If you have a round face, again place your phone at a higher angle to create a slimming effect.
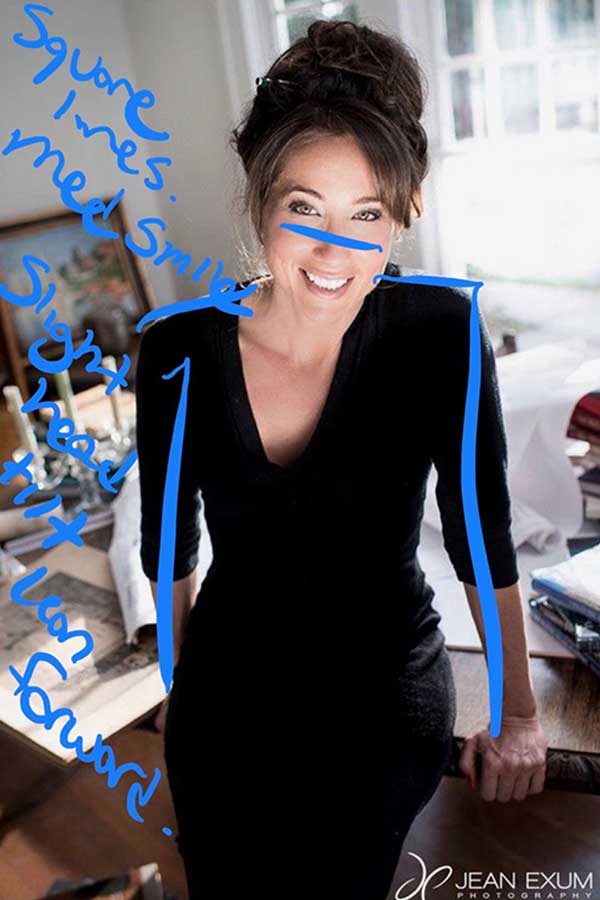
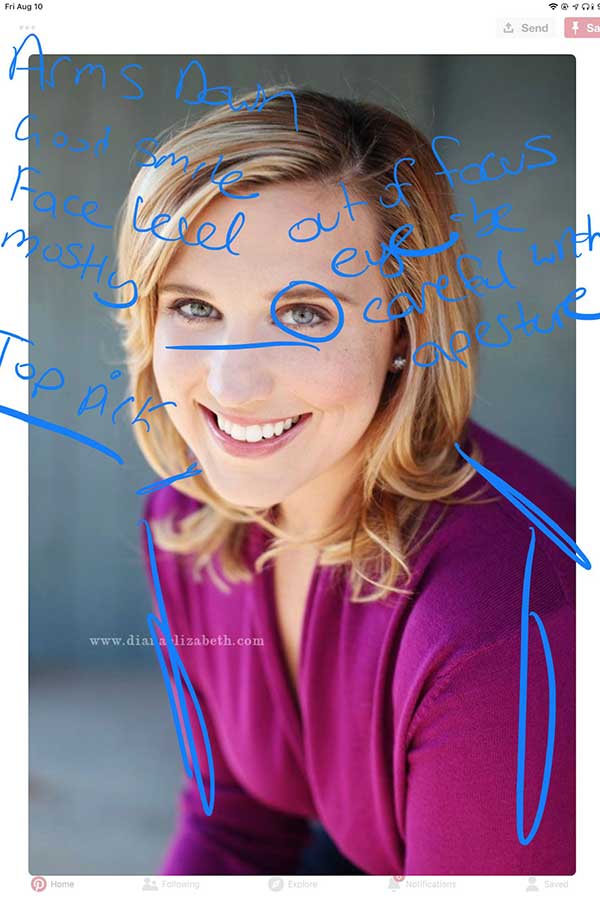
Thank to professional portrait photographer Jefe, here we got some examples of the best headshots that also marked WHY they are so good. Check this out and pick the one you like to give a shot:


6. Optimise your phone settings
Since you’ll be using a phone for your professional self-portrait, you’ll want to make sure it’s using the right settings to give the same look as using a camera. First, make sure it is set to HDR (high dynamic range). This setting takes better quality images that pop and look professional. The HDR setting takes three separate exposures and blends the best parts into one single photo. On Android, the HDR setting may be called Rich Tone.
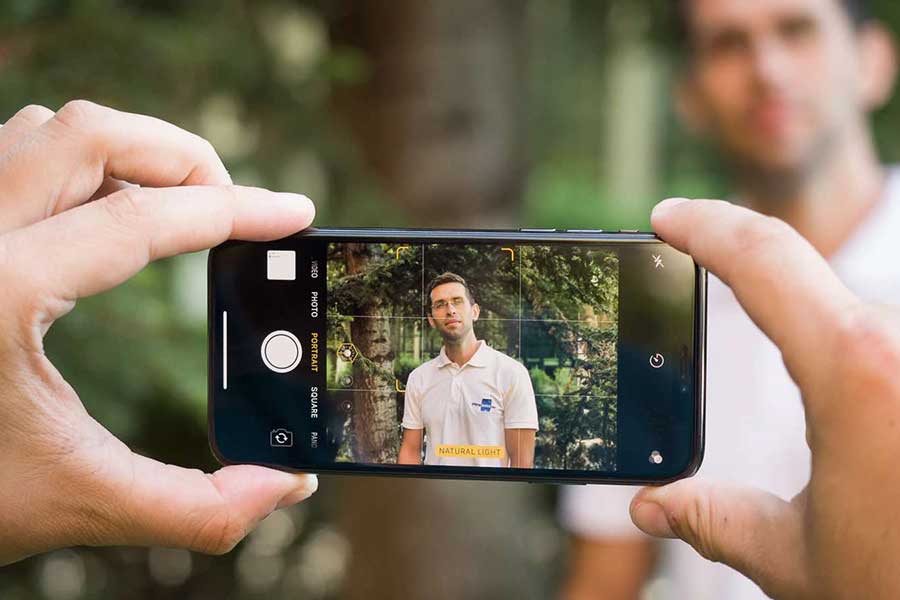
If your phone has ‘portrait mode’, use this setting to create a depth-of-field effect. This means that the camera will focus on you, the subject, and blur the background. This is the best setting to use for a chef profile picture if you are posing in the kitchen or in front of a non-neutral background.
Secondly, avoid zooming in manually as this will create a lower resolution photo. If you need to zoom in, just bring the camera closer to your face. Remember, you can always edit the image later to crop the background so there’s no need to zoom in to just your face.
7. Give yourself time
Don’t try to rush through your photoshoot. Allocate at least half an hour and take at least 12 different images. Feel free to use different poses, change the background, and mix it up so that you have a few different options at the end of the day. You could also consider taking different chef profile pictures for different purposes. For example, you might like to have a nice action shot of yourself cooking or prepping food, as well as a traditional headshot where you’re standing in front of the camera.
Give yourself time, take it easy, and you’ll get ‘the shot’.
Dos and don’ts of professional self-portraits
- DO try to use a simple, clean background that’s mainly one colour,
- DON’T use unflattering fluorescent lighting,
- DO find good natural lighting, with the sun in the correct position,
- DON’T pose in front of a cluttered background,
- DO use an angled pose that flatters your body and creates a nice shape,
- DON’T shoot straight on.
Editing your professional self-portrait
The work isn’t over once the photoshoot is finished! Now you want to do some editing to take your photos to the next level and have them looking schmick and professional.
- Choose your three favourite images, and use your phone’s photo editing features to adjust the lighting and colour balance.
- Adjust the highlights and shadows under the exposure section, as well as the contrast, until your image looks sharp.
- If you shot outdoors on an overcast day, you can increase the colour saturation to give your photos some extra life.
- You can also crop the image to your desired size. The best professional self-portraits are taken in ‘portrait’ style, which is a vertical format. A good rule of thumb is to crop your chef headshot so that you can see just your head and shoulders. If you are using the picture on social media then you’ll want to crop it to be a square shape.
If you want to go the extra mile with editing your chef profile picture, these are some other editing options you can play around with:
- Exposure – This will help adjust your photos if the lighting is too dark or too light,
- White balance – Some photos might look too yellow or too blue, this will help correct the lighting to be a neutral white,
- Highlights – Sometimes chef whites can look washed out in an image. This will help to tone down the brightness of the whites in your picture,
- Contrast – This helps create definition in the darker tones of your photo, but don’t contrast too much!
- Shadows – This setting can help lighten shadows that may have cast on your face, under your eyes or beside your nose,
- Curves – This adjusts the levels of exposure and contrast on your face,
- Filters – Try not to use filters in your headshot as they don’t look professional,
- Healing brush – This setting can help remove blemishes or facial imperfections,
- Skin smoothing – Why not? Feel free to airbrush your face for a smoother complexion, but don’t go overboard!
- Clarity – If your images look slightly unfocused, you can sharpen them to look more crisp.
You’ve got this!
Chef and photographer, who knew? Don’t feel intimidated or daunted by this process, smartphones are amazing these days and you have all the technology you need to take an excellent professional self-portrait. Get out there and show the world what you’re made of!